toolbarRoleは、ツールバーの役割を定義するために使用されるSwiftUIのモディファイアです。このモディファイアを使うことで、ツールバーの配置や動作を指定することができます。
実際にtoolbarRoleの設定をしてどのような変化があるか見てみましょう。
toolbarRoleのパラメータ
toolbarRoleには以下の役割があります:
.editor.browser.navigationstack
動作確認用のサンプルコード
以下のサンプルコードで動作を確認します。
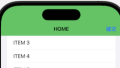
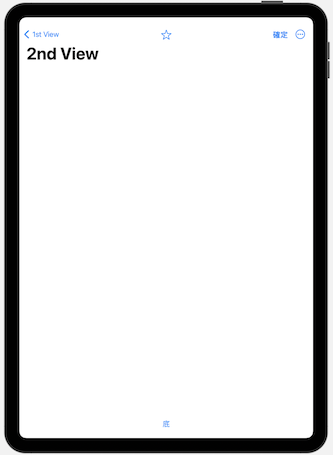
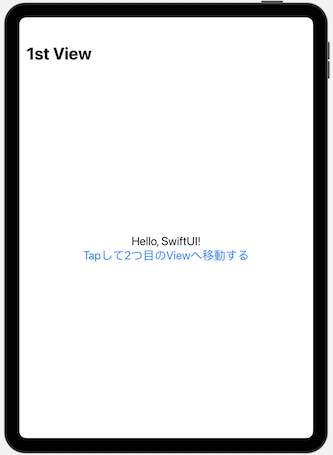
このサンプルコードは親ビューと子ビューの階層的なビューとなっており、ボタンが画面上部、下部にそれぞれ配置されています。
import SwiftUI

struct ToolBarRoleSmp: View {
    var body: some View {
        NavigationStack {
            Text("Hello, SwiftUI!")
                .navigationTitle("1st View")

            NavigationLink("Tapして2つ目のViewへ移動する") {
                ChildToolBarRoleSmp()
                    .toolbar {
                        ToolbarItem(placement: .confirmationAction) {
                            Button(action: {
                                print("Automatic Role Button tapped")
                            }) {
                                Text("確定")
                            }
                        }
                        ToolbarItem(placement: .bottomBar) {
                            Button(action: {
                                print("Automatic Role Button tapped")
                            }) {
                                Text("底")
                            }
                        }
                        ToolbarItem(placement: .principal) {
                            Button(action: {
                                print("Automatic Role Button tapped")
                            }) {
                                Image(systemName: "star")
                            }
                        }
                        ToolbarItem(placement: .secondaryAction) {
                            Button(action: {
                                print("Automatic Role Button tapped")
                            }) {
                                Image(systemName: "moon.stars")
                            }
                        }
                    }
                    .toolbarRole(.navigationStack)
            }
        }
    }
}
struct ChildToolBarRoleSmp: View {
    @State private var editorsmp = ""
    @State private var searchText = ""
    var body: some View {
        TextEditor(text: $editorsmp)
            .navigationTitle("2nd View")
    }
}
toolbarRoleの設定値による動作の変化
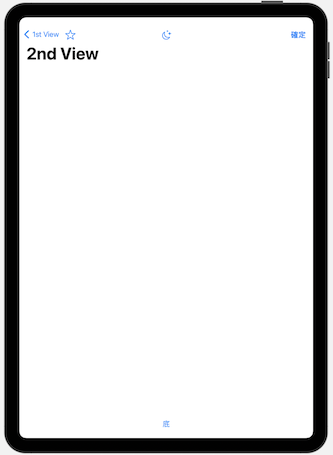
iPhoneよりもiPadの方が変化がわかりやすいのでiPadで確認しました。
NavigationStack

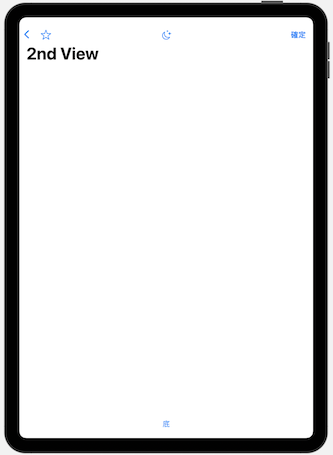
browser
editor

まとめ
ツールバーのそれぞれの位置にボタンを配置し、toolbarRoleのパラメータによる影響を確認してみました。
見比べないと分からない程度の違いではありますが、戻るボタンの表示が異なっていたり、secondaryActionのボタンの表示方法が違うなど若干の違いがありました。
今回の検証ではあまり有用な使い方を見つけることができませんでしたが、今後何か有用な使い方を見つけることができれば記事を更新していきたいと思います。